


Vietnam E-Visa for Filipinos 2026: How to Apply Online and Validity Updates
By Mesho Travel Team
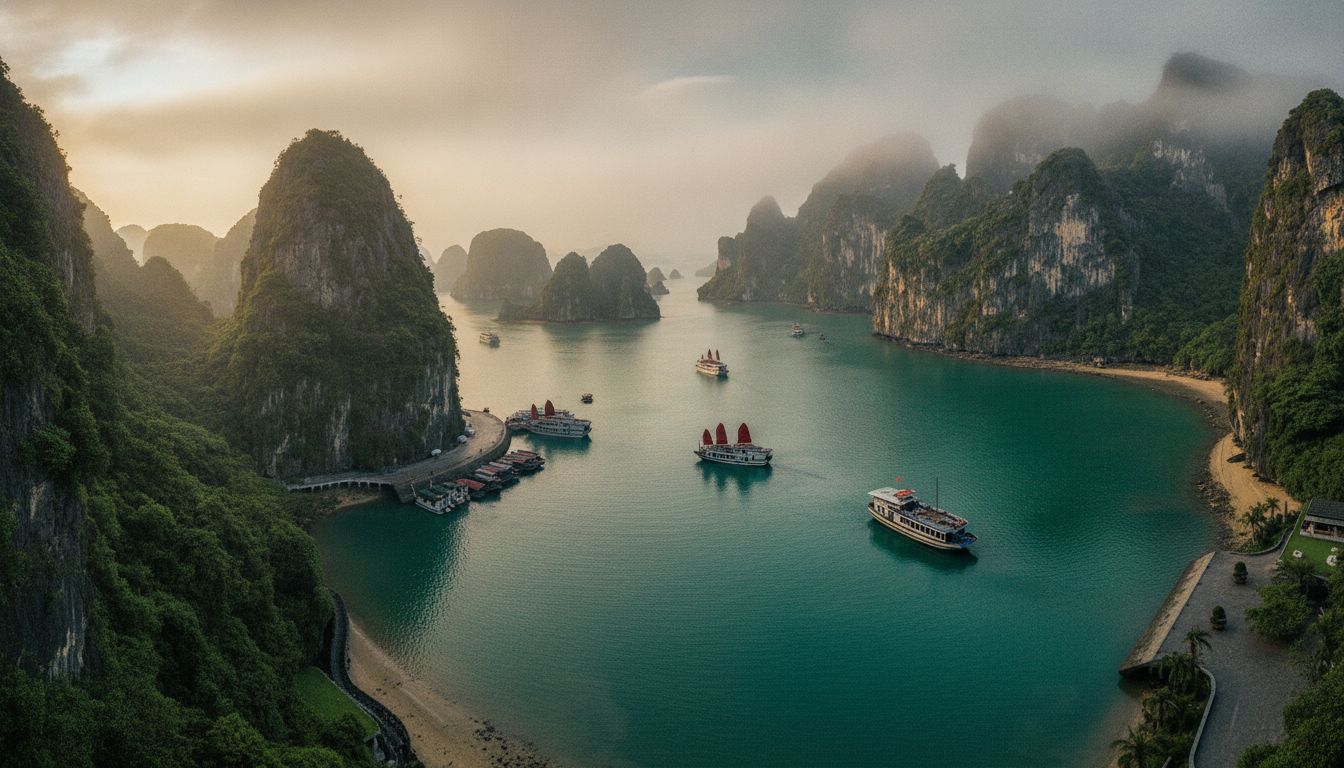
Planning your first bowl of pho in Hanoi or a sunset cruise in Ha Long Bay? If you are holding a Philippine passport, you have probably asked two questions: Do I need a visa for Vietnam? And if an e-Visa pops up in your search results, is it actually legitimate?
The short answer is yes to both. Philippine passport holders are required to obtain a visa before entering Vietnam, and the Vietnam e-Visa is an official document issued directly by the Immigration Department of Vietnam. Since 2023, the country has streamlined the process into a single online portal, offering Filipino travelers a 90-day single or multiple entry option without visiting an embassy.
In this guide, you will learn the exact application steps, the documents you need, how to avoid costly scams, and what to expect when you land at Noi Bai or Tan Son Nhat.
Do Filipinos Need a Visa? Is the E-Visa Legitimate?
Yes. Unlike some Southeast Asian neighbors, Vietnam does not offer visa-free entry to Philippine passport holders. You must secure a visa before boarding your flight.
The Vietnam e-Visa is not a third-party gimmick. It is a government-issued electronic visa introduced to replace the older visa-on-arrival system for many nationalities. Your e-Visa is electronically linked to your passport and accepted at 42 designated ports of entry, including international airports, land borders, and seaports.
Think of the e-Visa as your digital stamp. It carries the same legal weight as a visa sticker from an embassy, but you apply from your phone or laptop in Manila, Cebu, or Davao.
What Filipino Travelers Need to Know Before Applying
Before you open the application page, confirm these essentials. Missing one detail can delay your trip or result in a rejected application.
- Validity: The e-Visa allows a maximum stay of 90 days. You can choose either single entry or multiple entry.
- Passport validity: Your Philippine passport must be valid for at least six months beyond your intended arrival date in Vietnam.
- Processing time: Standard processing takes 3 working days from the date of submission. Apply at least one week before departure to account for delays.
- Official portal only: The sole legitimate website is evisa.xuatnhapcanh.gov.vn. No other domain is authorized to issue Vietnamese e-Visas.
- Entry points: You can enter via major airports like Noi Bai (Hanoi) and Tan Son Nhat (Ho Chi Minh City), as well as select land borders and seaports.
| Option | Fee (USD) | Best For |
|---|---|---|
| Single Entry | $25 | One continuous trip (e.g., Hanoi to Ho Chi Minh City) |
| Multiple Entry | $50 | Side trips to Cambodia or returning after a regional loop |
Step-by-Step Application Process
The application portal is straightforward, but precision matters. Every detail must match your passport exactly. Follow these steps:
Step 1: Access the Official Portal
Open your browser and go directly to evisa.xuatnhapcanh.gov.vn. Click the "For Foreigners" button, then select "Application" to begin a new submission.
[Screenshot description: The official Vietnam e-Visa homepage displaying the national flag header, navigation tabs for Vietnamese and English, and the blue "For Foreigners" call-to-action button.]
Step 2: Upload Your Passport Data Page
Scan or photograph the data page of your Philippine passport. The image must be clear, with all corners visible, in JPG or PNG format. Blurred uploads are the top reason for delays.
[Screenshot description: The upload screen showing a sample passport data page inside a dashed upload box, with file size limits and accepted format notes below.]
Step 3: Upload Your Portrait Photo
You need a recent passport-style photograph with a white or light background, straight face, no glasses, and no head covering unless for religious purposes. The portal will auto-check dimensions, but a 4x6 cm digital file works best.
[Screenshot description: The photo upload interface with a preview pane, facial alignment guides, and a red error indicator for incorrect backgrounds.]
Step 4: Enter Personal and Travel Details
Complete the form using your passport as the exact reference. Key fields include:
- Full name (as printed on your passport)
- Date of birth, nationality, and passport number
- Intended entry and exit dates
- Port of entry (e.g., Noi Bai Airport, Tan Son Nhat Airport)
- Purpose of visit (typically "Tourism")
Step 5: Select Entry Type and Pay
Choose between single entry ($25 USD) or multiple entry ($50 USD). Payment is processed securely via credit or debit card (Visa, Mastercard, JCB, and Amex are typically accepted). Keep your payment confirmation.
[Screenshot description: The payment gateway screen displaying the total fee in USD, card number input fields, and a secure connection lock icon in the browser address bar.]
Step 6: Save Your Registration Code
After payment, the system generates a unique registration code. Save this in your notes app and email it to yourself. You will need it to check your application status.
Step 7: Download and Print
Return to the portal after 3 working days, enter your registration code, and download your e-Visa in PDF format. Print two copies: one to hand to the immigration officer and one to keep with your travel documents.
Required Documents Checklist
Gather these items before you start the application to avoid interruptions:
- Philippine passport valid for at least 6 months beyond arrival, with at least 2 blank pages
- Passport data page scan (high-resolution JPG or PNG)
- Digital passport photo (white background, no glasses, face centered)
- Active email address to receive confirmation and the final e-Visa
- Credit or debit card for the $25 or $50 government fee
- Tentative travel dates and accommodation address (a hotel name and city are sufficient)
Fees, Payment, and Presenting Your E-Visa
The Vietnam e-Visa fee is collected online during application. It is non-refundable even if your application is rejected, so double-check every field before paying.
| Item | Cost | Notes |
|---|---|---|
| Single Entry E-Visa | $25 USD | Approx. PHP 1,400 depending on exchange rates |
| Multiple Entry E-Visa | $50 USD | Approx. PHP 2,800 depending on exchange rates |
At the airport, present your printed e-Visa together with your passport. The immigration officer will verify the barcode against their system. There is no additional stamping fee at the counter for e-Visa holders, which sets it apart from the older visa-on-arrival process.
Avoiding Scams and Fake Visa Websites
Warning: Do Not Trust Unofficial Visa Agents
A quick Google search for "Vietnam visa" returns dozens of fake or third-party agency sites before the official portal. Some charge PHP 4,500–9,000 for a service you can complete yourself in 15 minutes.
Protect yourself with these rules:
- Check the domain: Only evisa.xuatnhapcanh.gov.vn ends in .gov.vn. If the site ends in .com, .org, or .net, it is not the government portal.
- No expedited processing exists: The Vietnamese government does not offer express or same-day e-Visa processing. Any site promising a 24-hour turnaround is misleading you.
- Never share passport scans on social media: Legitimate agencies do not ask you to send passport photos via Facebook Messenger or Viber. This is a common identity theft trap.
- Compare the fee: If the total is significantly more than $25 or $50, you are paying unnecessary service charges.
- Skip the "visa on arrival" letter: This older system requires you to queue at a counter and pay an additional stamping fee. The direct e-Visa is simpler and more transparent.
Arrival Tips: Noi Bai vs. Tan Son Nhat, Grab, and SIM Cards
Once your e-Visa is printed, your journey begins. Here is how to make your arrival in Vietnam seamless.
Immigration at Noi Bai (Hanoi) vs. Tan Son Nhat (Ho Chi Minh City)
Both airports accept the e-Visa, but the experience differs slightly. Noi Bai tends to have shorter queues and a more relaxed pace, ideal if you are landing in the north. Tan Son Nhat is busier and handles more international volume, so expect longer lines, especially in the late afternoon when regional flights converge.
At either airport, head to the "All Passports" or "E-Visa" lane. Have your printed e-Visa and passport ready. Officers rarely ask for proof of onward travel or hotel bookings, but keeping a digital copy on your phone is wise.
Set Up Grab Before You Land
Vietnam's unofficial national ride-hailing app is Grab. Download it while connected to Philippine WiFi, add your card, or choose cash payment. At the airport, use the designated Grab pickup zones rather than accepting offers from touts inside the terminal. Fixed pricing eliminates haggling and protects you from overcharging.
Buy a Local SIM Card on Arrival
Reliable data is essential for maps, Grab, and translating menus. Look for official kiosks from Viettel, Mobifone, or VinaPhone in the arrivals hall. A 30-day tourist SIM with generous data costs roughly PHP 250–500. The attendant will install and activate it for you.
Pro tip: Bring a small stash of USD in crisp bills. While ATMs are everywhere in Hanoi and Ho Chi Minh City, having cash on hand for the SIM kiosk and your first Grab ride saves time after a long flight.
Where to Go Next: Curated Vietnam Itineraries
With your visa sorted, you can focus on the experience. Vietnam rewards travelers who move slowly. Explore our Vietnam destination page for a full overview of regions, but here are three classic routes Filipino travelers love:
- North to South Classic: Hanoi → Ha Long Bay → Da Nang → Hoi An → Ho Chi Minh City. Perfect for first-timers who want cities, coastlines, and cuisine.
- Central Vietnam Culture: Da Nang → Ba Na Hills → Hoi An Ancient Town. A shorter loop packed with Instagram-worthy architecture and beach sunsets.
- Mekong Delta Escape: Ho Chi Minh City → Can Tho → floating markets. Ideal for travelers who want rural landscapes and river life.
Mesho Travel And Tours offers curated packages across all three regions, with flights from Manila, airport transfers, and English-speaking guides. Browse our Vietnam tour packages to find a departure date that fits your calendar.
Quick Summary
- Philippine passport holders need a visa to enter Vietnam; there is no visa-free access.
- The official e-Visa portal is evisa.xuatnhapcanh.gov.vn — bookmark it and ignore all other sites.
- Choose single entry ($25) or multiple entry ($50) for stays up to 90 days.
- Processing takes 3 working days; you need a passport scan, digital photo, and payment card.
- Print two copies, set up Grab, and buy a local SIM on arrival for a seamless start.
Related Reading
- Vietnam North to South: 14-Day Ultimate Itinerary from Hanoi to Ho Chi Minh City
- Grab Bike and Beyond: Getting Around Vietnamese Cities Like a Local
- Japan Tourist Visa for Filipinos 2026: Complete Requirements and Application Timeline
Ready to Experience Vietnam?
Let Mesho Travel And Tours handle your visa guidance, flights, and curated itinerary. From the limestone karsts of Ha Long Bay to the lantern-lit streets of Hoi An, your extraordinary journey starts here.
Explore Vietnam PackagesThe Mesho Travel Team is based in Meycauayan, Philippines, and specializes in seamless journeys across Southeast Asia. Visa rules change frequently; always verify current requirements with the official Vietnamese immigration portal before applying.


